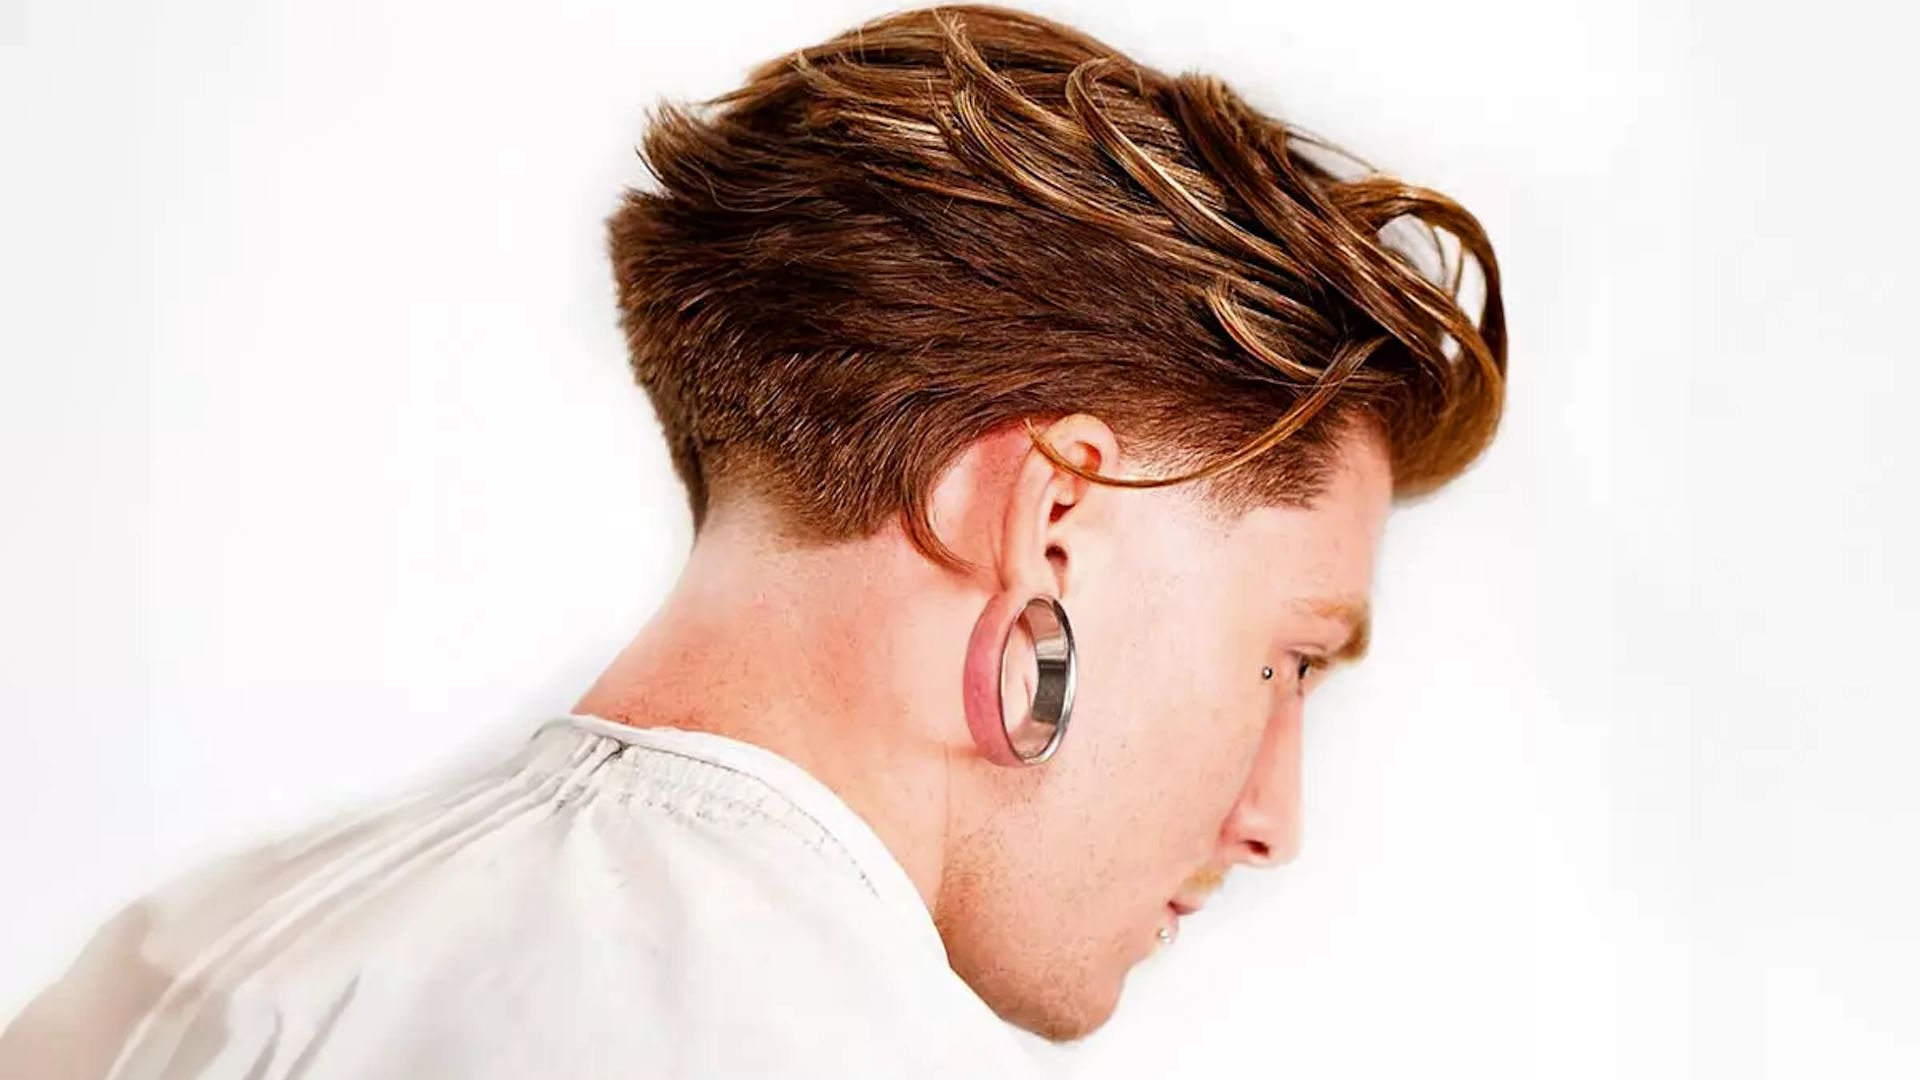
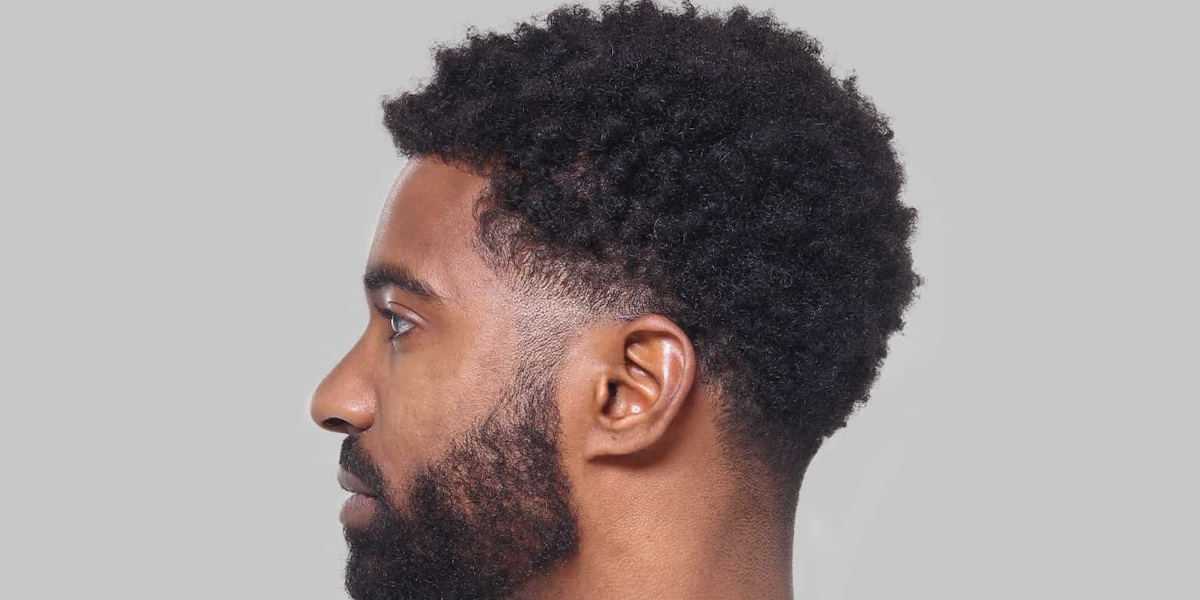
Maintaining a sharp low taper fade can feel like a bit of a balancing act. You want that fresh look you get right after a barber visit, but without constantly scheduling appointments. Well, good news: it’s totally possible to keep your fade looking sharp between trips to the salon with just a little effort. Think of it like taking care of a plant – you don’t need to water it every day, but a little attention here and there keeps it growing beautifully.
Basic Maintenance Tools: What You Need
Before you start trimming away, let’s talk about what tools you’ll need for a successful DIY low taper fade. Having the right equipment is key to getting a clean, precise result without making any mistakes that will send you straight back to the barber.
Here’s a list of the basic tools you’ll need:
| Tool | Purpose |
| Clippers | For cutting and blending the hair. Look for clippers with adjustable guards for different lengths. |
| Comb | Helps to guide your hair as you trim and blend. |
| Beard Trimmer | A small, precise trimmer for shaping edges like sideburns and the back of your neck. |
| Mirror | A handheld mirror for checking your work and ensuring symmetry, especially in the back. |
| Scissors | To tidy up any long stray hairs that clippers can’t reach. |
| Razor | For finishing touches around the hairline and neck for a clean, crisp look. |
While it might sound like a lot, the reality is that most of these tools can be found in any decent grooming kit. And once you have them, you’ll be ready to maintain your fade between barber visits.
Understanding the Low Taper Fade
Before diving into the trimming process, it’s important to understand what makes a low taper fade different from other haircuts.
A low taper fade is a haircut where the hair gradually shortens as it moves down the sides and back of your head. It’s not as dramatic as a high fade, which starts much higher on your head, nor is it as subtle as a mid fade. With a low taper fade, the transition is closer to the ears and neck, giving a clean, low-maintenance look.
This specific style is easy to manage, and it tends to look great on most face shapes. The fade starts low near your ears and gradually shortens as it reaches the nape of your neck. To keep this low taper fade sharp between barber visits, you’ll need to maintain the clean lines and blend the fade smoothly with the longer hair on top.
Step 1: Preparing for Maintenance
Before you even touch those clippers, make sure you’ve got the right set-up. It’s like cleaning your workspace before starting a project – you’ll feel more focused and organized when everything is ready.
Here’s how you can prepare for the task:
- Wash your hair – Clean hair makes it easier to see exactly what you’re working with. It also gives your clippers a smoother glide.
- Dry your hair – Damp hair can get caught in the clippers and make the fade look uneven. Dry hair will let you see where trimming is needed.
- Set up your space – Find a well-lit spot where you can see your hair from all angles. A mirror in front and behind you is a must. Have a chair or stool to sit on for better control.
- Keep a towel handy – You might want to wipe away any loose hair as you go to avoid messing with your lines.
Step 2: Trim and Tidy the Sides
Now that you’re all set up, it’s time to tackle the sideburns and the lower part of the fade. This is the most important part of maintaining a low taper fade, as the sides define the whole look. Here’s how to do it:
- Select your clipper guard – Choose a guard that’s a little longer than the current length of your fade. Start with a higher guard (usually 3 or 4) and work your way down for blending.
- Trim around the sideburns – Use the clippers to trim the sideburns neatly. Keep them in line with your natural hair growth pattern. If you have thick or bushy sideburns, trim them to create a clean starting point for the fade.
- Blend the fade – Start from the bottom of your fade and work your way up using a slightly shorter guard for each section of the fade. The key is to avoid creating a harsh line – the fade should look seamless.
Step 3: Focus on the Nape and Back
Next up is the back of your head. The nape area can be tricky to reach, but with a little patience, you can get a clean line that helps the fade transition smoothly from the sides to the neck.
- Trim the neck – Use your trimmer to clean up the neck area. Start at the bottom and work upwards to define the line. The line should be slightly curved to match the natural shape of your neck.
- Blend the hair – Just like the sides, blend the hair around the nape so there’s no sudden drop-off. You can use the clipper over comb technique, where you hold the comb against your scalp and run the clippers along it to trim the fade.
Step 4: Shaping and Detailing the Edges
Once the main trimming is done, it’s time for the details. This is where you clean up the edges to get that crisp, barbershop-ready look.
- Shape the edges – Use your beard trimmer or razor to shape the edges around your ears and the hairline. Make sure these lines are as straight as possible for that sharp look.
- Finish up the back – Check the back of your head using your mirror. You want to ensure the fade looks balanced from all angles. Trim any stray hairs that might be sticking out of the fade line.
Step 5: Keep the Fade Fresh for Longer
Maintaining your fade doesn’t stop with the trim. There are a few tricks you can use to keep it looking fresh even as your hair grows out:
- Regular touch-ups – Every few days, check your fade and give it a quick touch-up, especially around the sides and nape.
- Use good hair products – A small amount of pomade or styling gel can help define the fade and keep the hair in place. Just don’t go overboard; you want to avoid weighing the hair down.
- Wash and condition – Healthy hair grows better and looks better. Use a gentle shampoo and conditioner to keep your hair looking smooth and shiny.


